September 28, 2026
10 min read
Microshading in Geneva: Before and After, and Healing Week by Week

Scroll through microshading before-and-after photos and they all tell the same story: sparse brows on the left, a perfect powdery arch on the right. What they almost never show is everything in between. On the day, the brows look darker than they will end up. A week later they flake. Around two weeks in they can seem to have almost vanished. And the real result, the one you will see in the mirror every morning for months, only appears after the perfecting session. This guide describes in words, stage by stage, what your brows look like before, straight after and once healed, so you know exactly what to expect from microshading in Geneva and how to read the before-and-after photos you are shown.
Microshading in a nutshell
Where microblading draws hairs, microshading builds a shadow. Pigment is placed as a multitude of tiny dots, giving a diffused, powdery finish with no hard outline. The look is close to a brow gently filled in with pencil or powder. Our main salon explains the technique itself on its microshading service page; here we focus on the result, before and after.
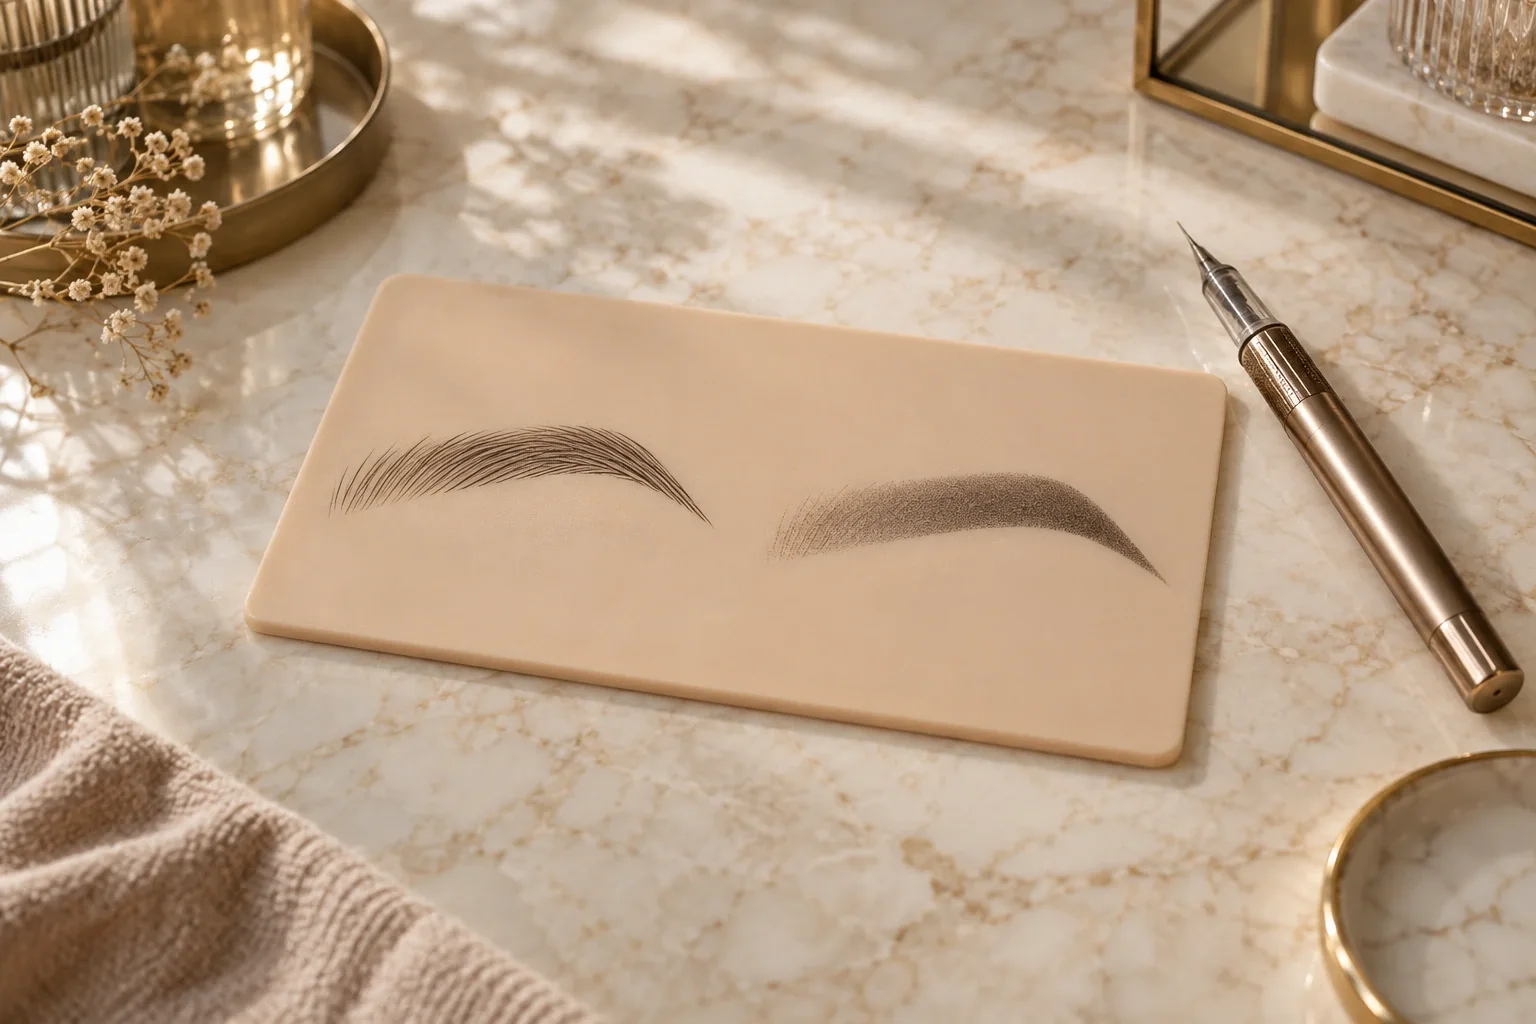
At the salon, microshading is booked as part of the Beauty Angels Blade & Shade protocol, which combines hair strokes at the front of the brow with shading through the body and tail. If you would rather have a fully powdered look with no strokes at all, that is the job of ombré powder brows. We point you towards one or the other at the consultation.
Before: where microshading makes the biggest difference
Everyone's "before" is different, and it decides how dramatic the change will be. The most common starting points:
- Sparse brows with visible gaps, especially towards the tail.
- Over-plucked brows from years ago that never fully grew back.
- Very fair or faded brows that disappear without makeup.
- Asymmetry between the two brows, in height or thickness.
- Daily pencil or powder that melts in the heat, at the gym or in the pool.
The sparser the starting point, the stronger the before-and-after contrast. On brows that are already full, microshading mainly adds definition and evenness: the change is subtler, but just as welcome day to day.
Who is microshading for?
Microshading suits all ages and brings back definition to brows that have thinned with time. The shade and intensity are chosen with you, so the result stays in harmony with your colouring. Shading generally holds better than hair strokes alone on combination to oily skin.
When to wait, or check with your doctor first
Like all permanent makeup, microshading is a skin procedure. It is postponed, or needs your doctor's opinion first, in case of pregnancy or breastfeeding, blood-thinning medication, unstable diabetes, a tendency to keloid scarring, an active skin condition on the brows, recent isotretinoin-type treatment or ongoing chemotherapy. This is general information and does not replace medical advice. Be open about your health at the consultation; the technician may delay or decline the treatment if it is not safe for you.
How to read a before-and-after photo
Before-and-after photos are useful, as long as you know how to look at them:
- Fresh or healed? A photo taken straight after the session shows darker, sharper colour than the final result. Ask to see healed work.
- Same light, same angle. Different lighting alone can change how intense a brow looks.
- No makeup. Check the "after" brow has not been touched up with pencil.
- No filters. Filters smooth skin and soften edges.
- Skin like yours. A result on dry skin does not translate directly to oily skin.
You can browse examples of work in our main salon's ombré brows gallery. At the consultation, feel free to ask for healed results on a skin type close to yours.
Choosing your intensity before the session
Intensity is a genuine choice. Microshading can stay very natural, like a light shadow, or go towards a noticeably more made-up finish. For a first pass, many clients prefer a moderate intensity: it is always possible to build more at the touch-up, whereas lightening pigment is far harder. Think about your everyday life too: a very defined brow is noticeable even when you wear no other makeup.
Shade matters as much as intensity
Brow pigment is matched to your hair colour and skin undertone. Too warm, and brows can drift towards red as they fade; too cool, and they can look greyish. The salon works with pigments from Beauty Angels Academy, Brow Daddy, Permablend and Biotek, which comply with the European REACH standard and are selected for your skin type. At the consultation, the shade is tested against your skin in daylight, and it is always chosen with healing in mind: colour looks deeper on the day than it will once healed.
The session, step by step
A Blade & Shade new set is planned for around two and a half hours at the salon.
- Consultation. You agree on goals, style and pigment shade with the technician.
- Pre-draw. The shape is drawn and approved with you in the mirror before any pigment goes in.
- Numbing. A topical anaesthetic cream is applied to the area.
- Shading. Pigment is placed in tiny dots, with the density adapted to your face. With Blade & Shade, the front strokes come first, then shading takes over.
- Adjustments. You review colour and intensity together, and refinements are made if needed.
Many clients find shading less uncomfortable than microblading during the session.
Your Sanctuary Awaits
Ready to Experience the Art?
“Secure your appointment today and join our community of elegant clients.”
Preparing for your appointment
In the days before, avoid strong sun and sunburn on your face, and skip exfoliating products on the brows. The day before, avoid alcohol and, if your doctor agrees, blood-thinning painkillers. Arrive without brow makeup and mention any ongoing treatment.
Straight after, then week by week
Here is what your brows look like at each stage. Everyone heals at their own pace, so treat this as a guide.
| Period | What your brows look like | What you do |
|---|---|---|
| Leaving the salon | Darker, sharper and fuller than the final result, slight redness around | Nothing alarming: blot gently, keep the area clean |
| Days 1–5 | Strong colour, sometimes a little "too much", possible mild swelling | Keep dry, apply the balm in a thin layer |
| Days 5–10 | Dryness and fine flakes lifting off, patchy look | Do not pick; let them fall on their own |
| Weeks 2–4 | Colour softens a lot, then comes back as the skin renews | Be patient: this is normal |
| Weeks 4–6 | Result settled, sometimes a few lighter areas | Perfecting touch-up |
| After the touch-up | Even, full, soft shading: the real "after" | Protect from sun, plan maintenance |
The evening of your appointment
This is the "after" nobody photographs. Leaving the salon, your brows look clearly darker and visually wider than they will end up, sometimes with light redness around them. By the evening the area can feel slightly tight. None of this is final: the colour loses intensity as it heals. If you have an important event, book well ahead, ideally so that the 4–6 week touch-up has healed too by the big day.
The stage that worries people most is the pale phase, around the second or third week. It is expected, and the colour comes back afterwards.
Before and after, depending on where you start
The same protocol does not produce the same "after" on every brow:
- Very sparse or over-plucked brows: this is where the difference is most striking. Shading rebuilds a complete shape where almost nothing was left, and the front strokes keep it from looking like a block.
- Full but uneven brows: the change shows mostly as evenness. Gaps disappear, the tail extends, both sides balance out.
- Very fair brows: the change is about colour. A shade matched to your hair frames the eyes without hardening the face.
- Faded old permanent makeup: the outcome depends on what remains of the previous pigment, and it needs to be assessed at a consultation before anything is promised.
Aftercare that protects your result
- avoid prolonged exposure to water, swimming in particular, for at least a week;
- no sauna, steam room or intense exercise while healing;
- apply the recommended balm in a very thin layer;
- do not pick the flakes;
- no makeup on the area until it has healed;
- once healed, protect your brows from the sun.
After that, your brows rule nothing out: you can add makeup for a stronger evening look, or leave them just as they are.
Longevity, touch-ups and prices
Microshading generally lasts 12 to 24 months. For the Blade & Shade protocol, the salon gives 12 to 18 months, with an annual touch-up between 6 and 15 months to refresh the pigment. The 4–6 week session is part of the protocol: it is what turns a good "after" into an even result.
The salon's current menu for microshading with Blade & Shade (full list on the service prices page):
ART
Microshading (Blade & Shade) prices
Beauty Angels Blade & Shade Consultation Only
30 minCHF 40
Beauty Angels Blade & Shade New Set
2h30CHF 400
Beauty Angels Blade & Shade Touch-up 4-6 Weeks
2hCHF 180
Beauty Angels Blade & Shade Annual Touch-up 6-15 Months
2hCHF 280
What if the "after" is not what you hoped for?
Rule one is not to judge too early. Over the first two weeks the colour goes from too dark to patchy to too pale, and none of those stages is the final result. Wait until it settles, at around four weeks, before forming an opinion.
If some areas are lighter or you would like a little more intensity, that is exactly what the 4–6 week touch-up is for: filling in, building density, adjusting the shade. Adding is much simpler than taking away, which is why starting moderately makes sense. And if you have old permanent makeup you no longer like, mention it at the consultation: the salon also offers laser-free removal, and sometimes that has to come first.
Microshading vs pencil, microblading and powder brows: which "after"?
If you are torn between options, here is how the result differs day to day. For a detailed technique-by-technique comparison by skin type, read our main salon's ombré brows guide.
| Microshading (Blade & Shade) | Pencil or powder | Microblading | Ombré powder brows | |
|---|---|---|---|---|
| Look | Soft, diffused shadow with strokes at the front | Depends on your hand that day | Fine hair strokes, very natural | Made-up powder effect |
| When you wake up | Already there | Nothing | Already there | Already there |
| Gym, pool, heat | Stays | Smudges or fades | Stays | Stays |
| Visible healing | About 10 days of flaking | None | Fine flakes, pale phase | About 10 days of flaking |
| Maintenance | Annual touch-up (6–15 months) | Daily | Annual touch-up, more often on oily skin | Annual touch-up (12–18 months) |
Conclusion: start with a consultation
A good microshading before-and-after is not judged on the day, but once the touch-up has healed. In between come colour that is too strong, a few days of flaking and a pale phase, all of them normal. The consultation is where you agree on shape, shade and intensity, and check that the technique suits your skin. Our permanent makeup studio in Geneva is happy to talk it through with you.
Your Sanctuary Awaits
Ready to Experience the Art?
“Secure your appointment today and join our community of elegant clients.”